This guide will show you how to overclock your Skylake CPU using Intel Extreme Tuning Utility or also known as Intel XTU. If you do not have a processor with an unlocked multiplier, overclocking may either be disabled or severely limited.
Use undervolting and overclocking with caution. Lowering the voltage too much can cause instability.
Overvolting is very dangerous and not recommended. Note that Skylake is very sensitive to increasing voltages. This will greatly increase temperatures of the processor.
Undervolting your processor can give you very satisfying results. First of all, power consumption and temperatures will be reduced. Now in addition to that, we all know processors have a TDP cap.
The TDP envelope of the processor will affect our actual CPU performance. But this is more noticeable with Skylake-U or Skylake-Y processors that have a TDP cap of 15W or lower. But as we know, undervolting reduces power, which in turn frees up a little bit of TDP headroom which might mean a slight increase of the processor multiplier or frequency in case the processor is being throttled by the TDP or firmware based TDP throttling.
Let’s get started.
Creating a new overclock & saving to a profile
For this guide, download ‘Intel XTU’ or ‘Intel Extreme Tuning Utility’
-
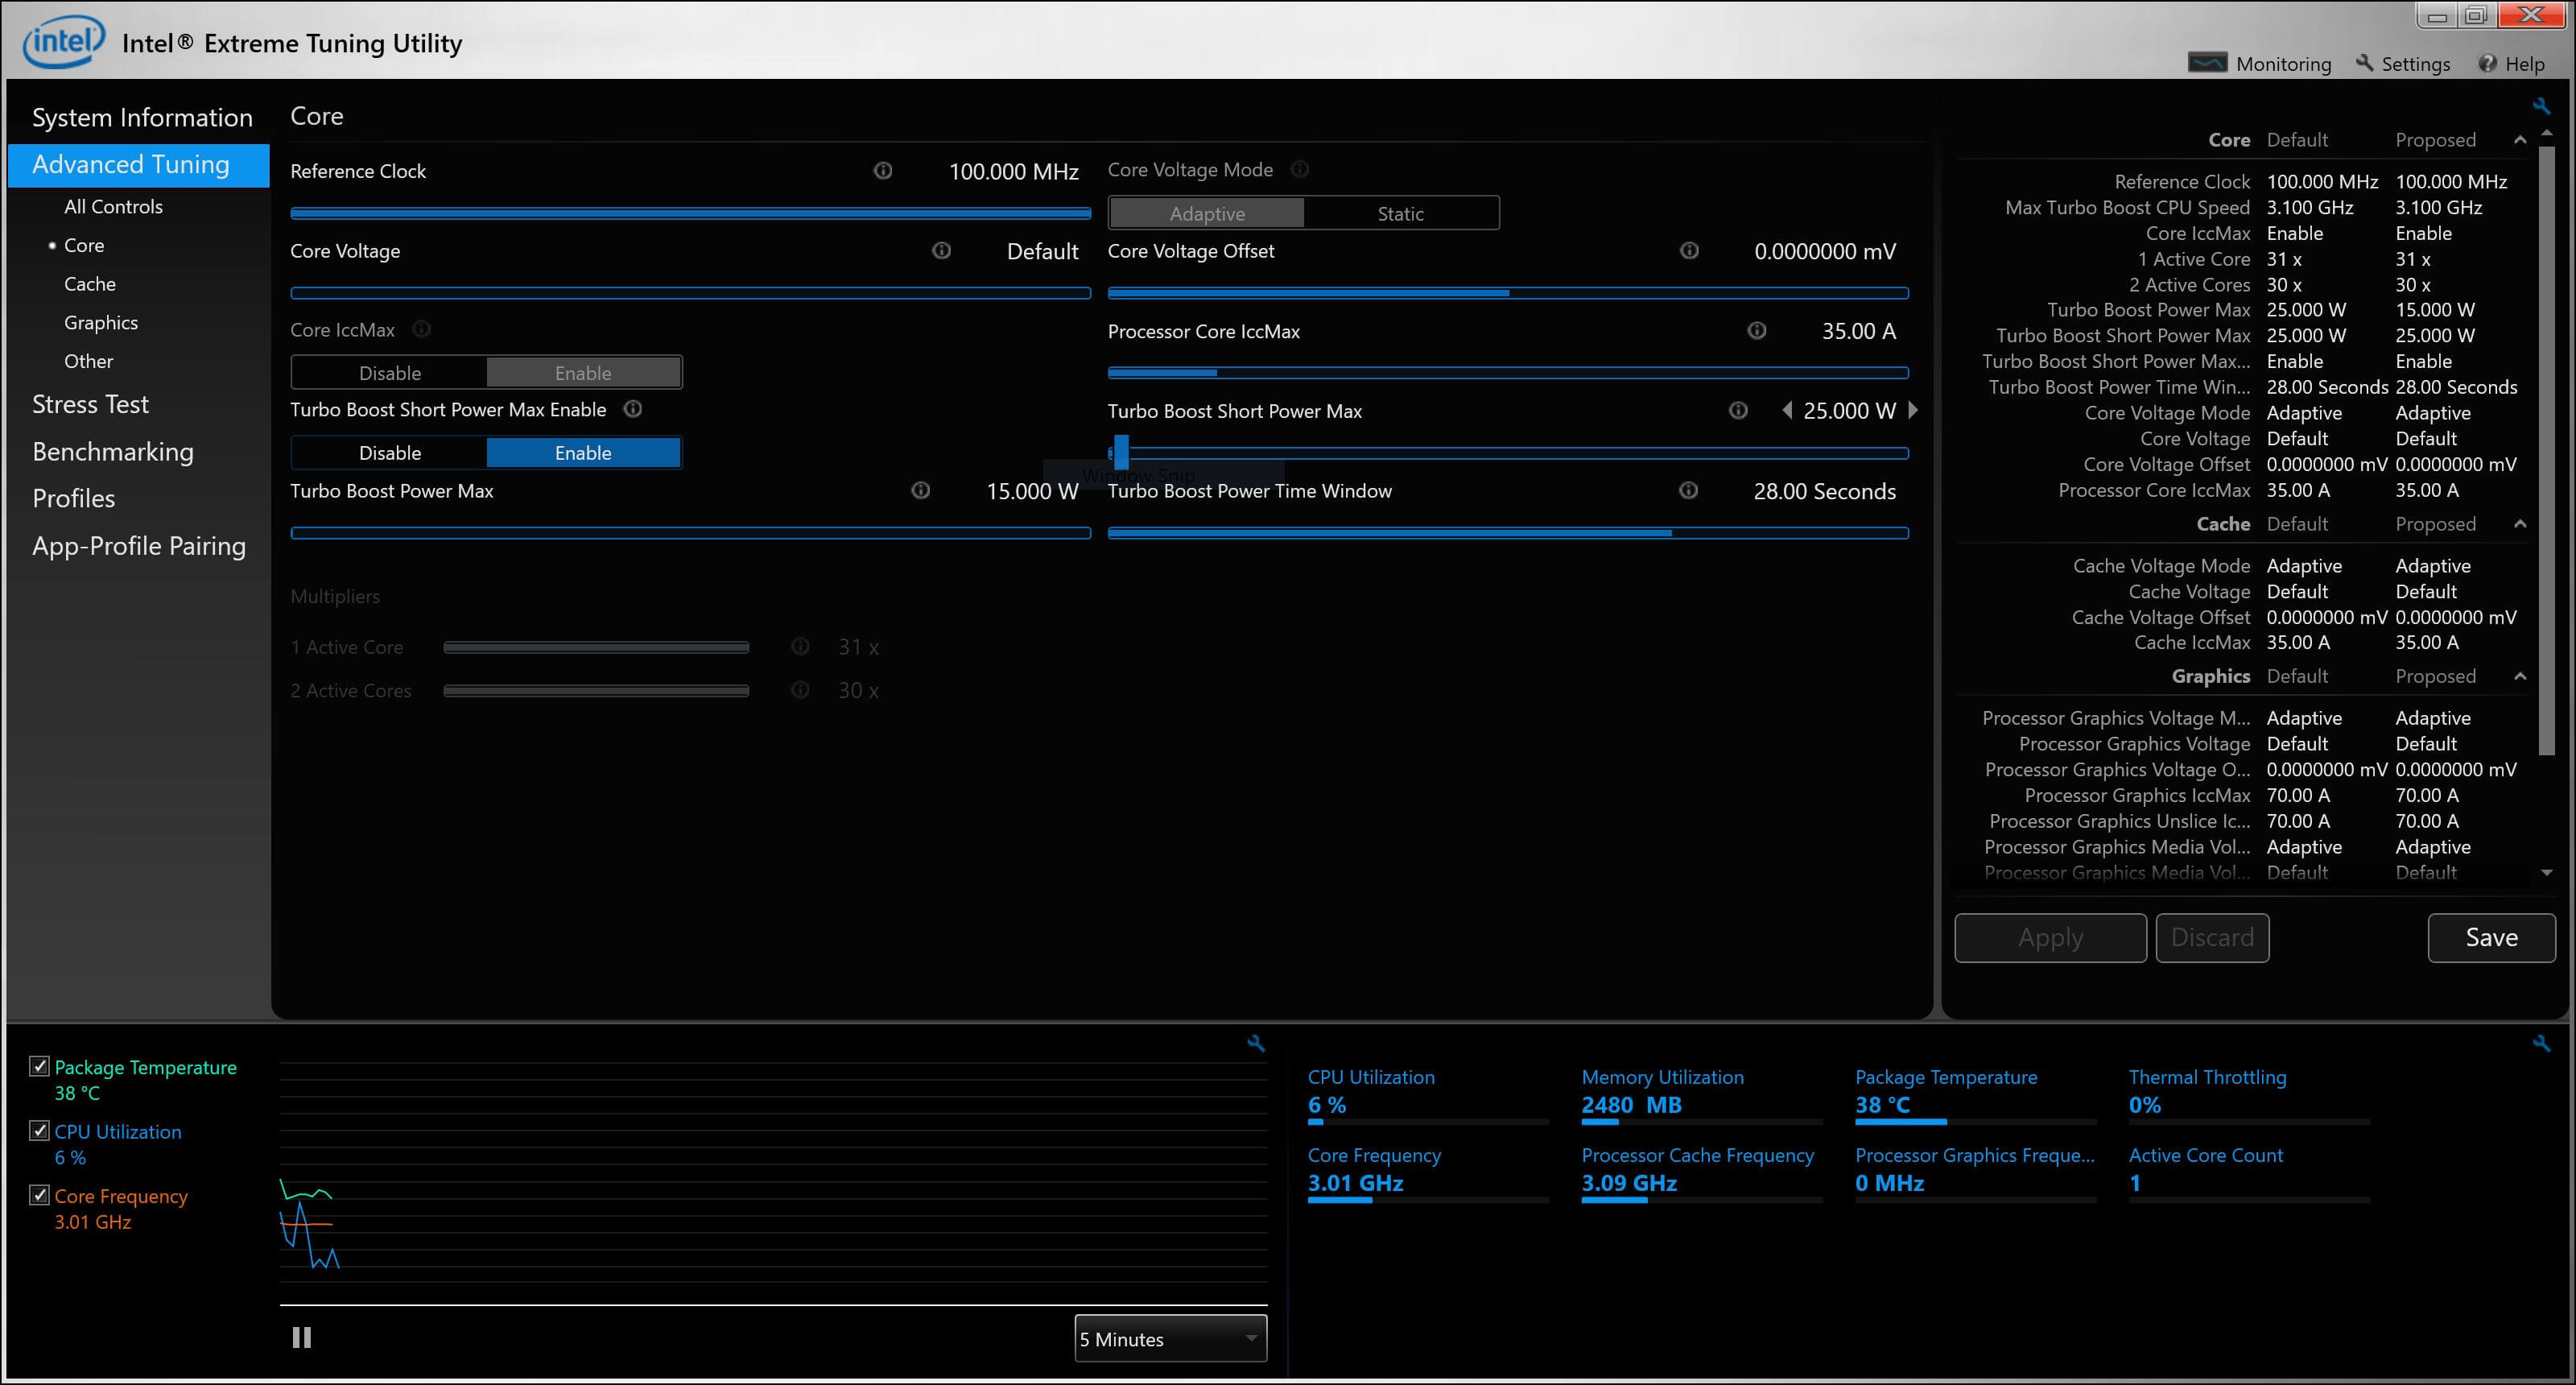
Now go to ‘Advanced Tuning’ on the left.
-
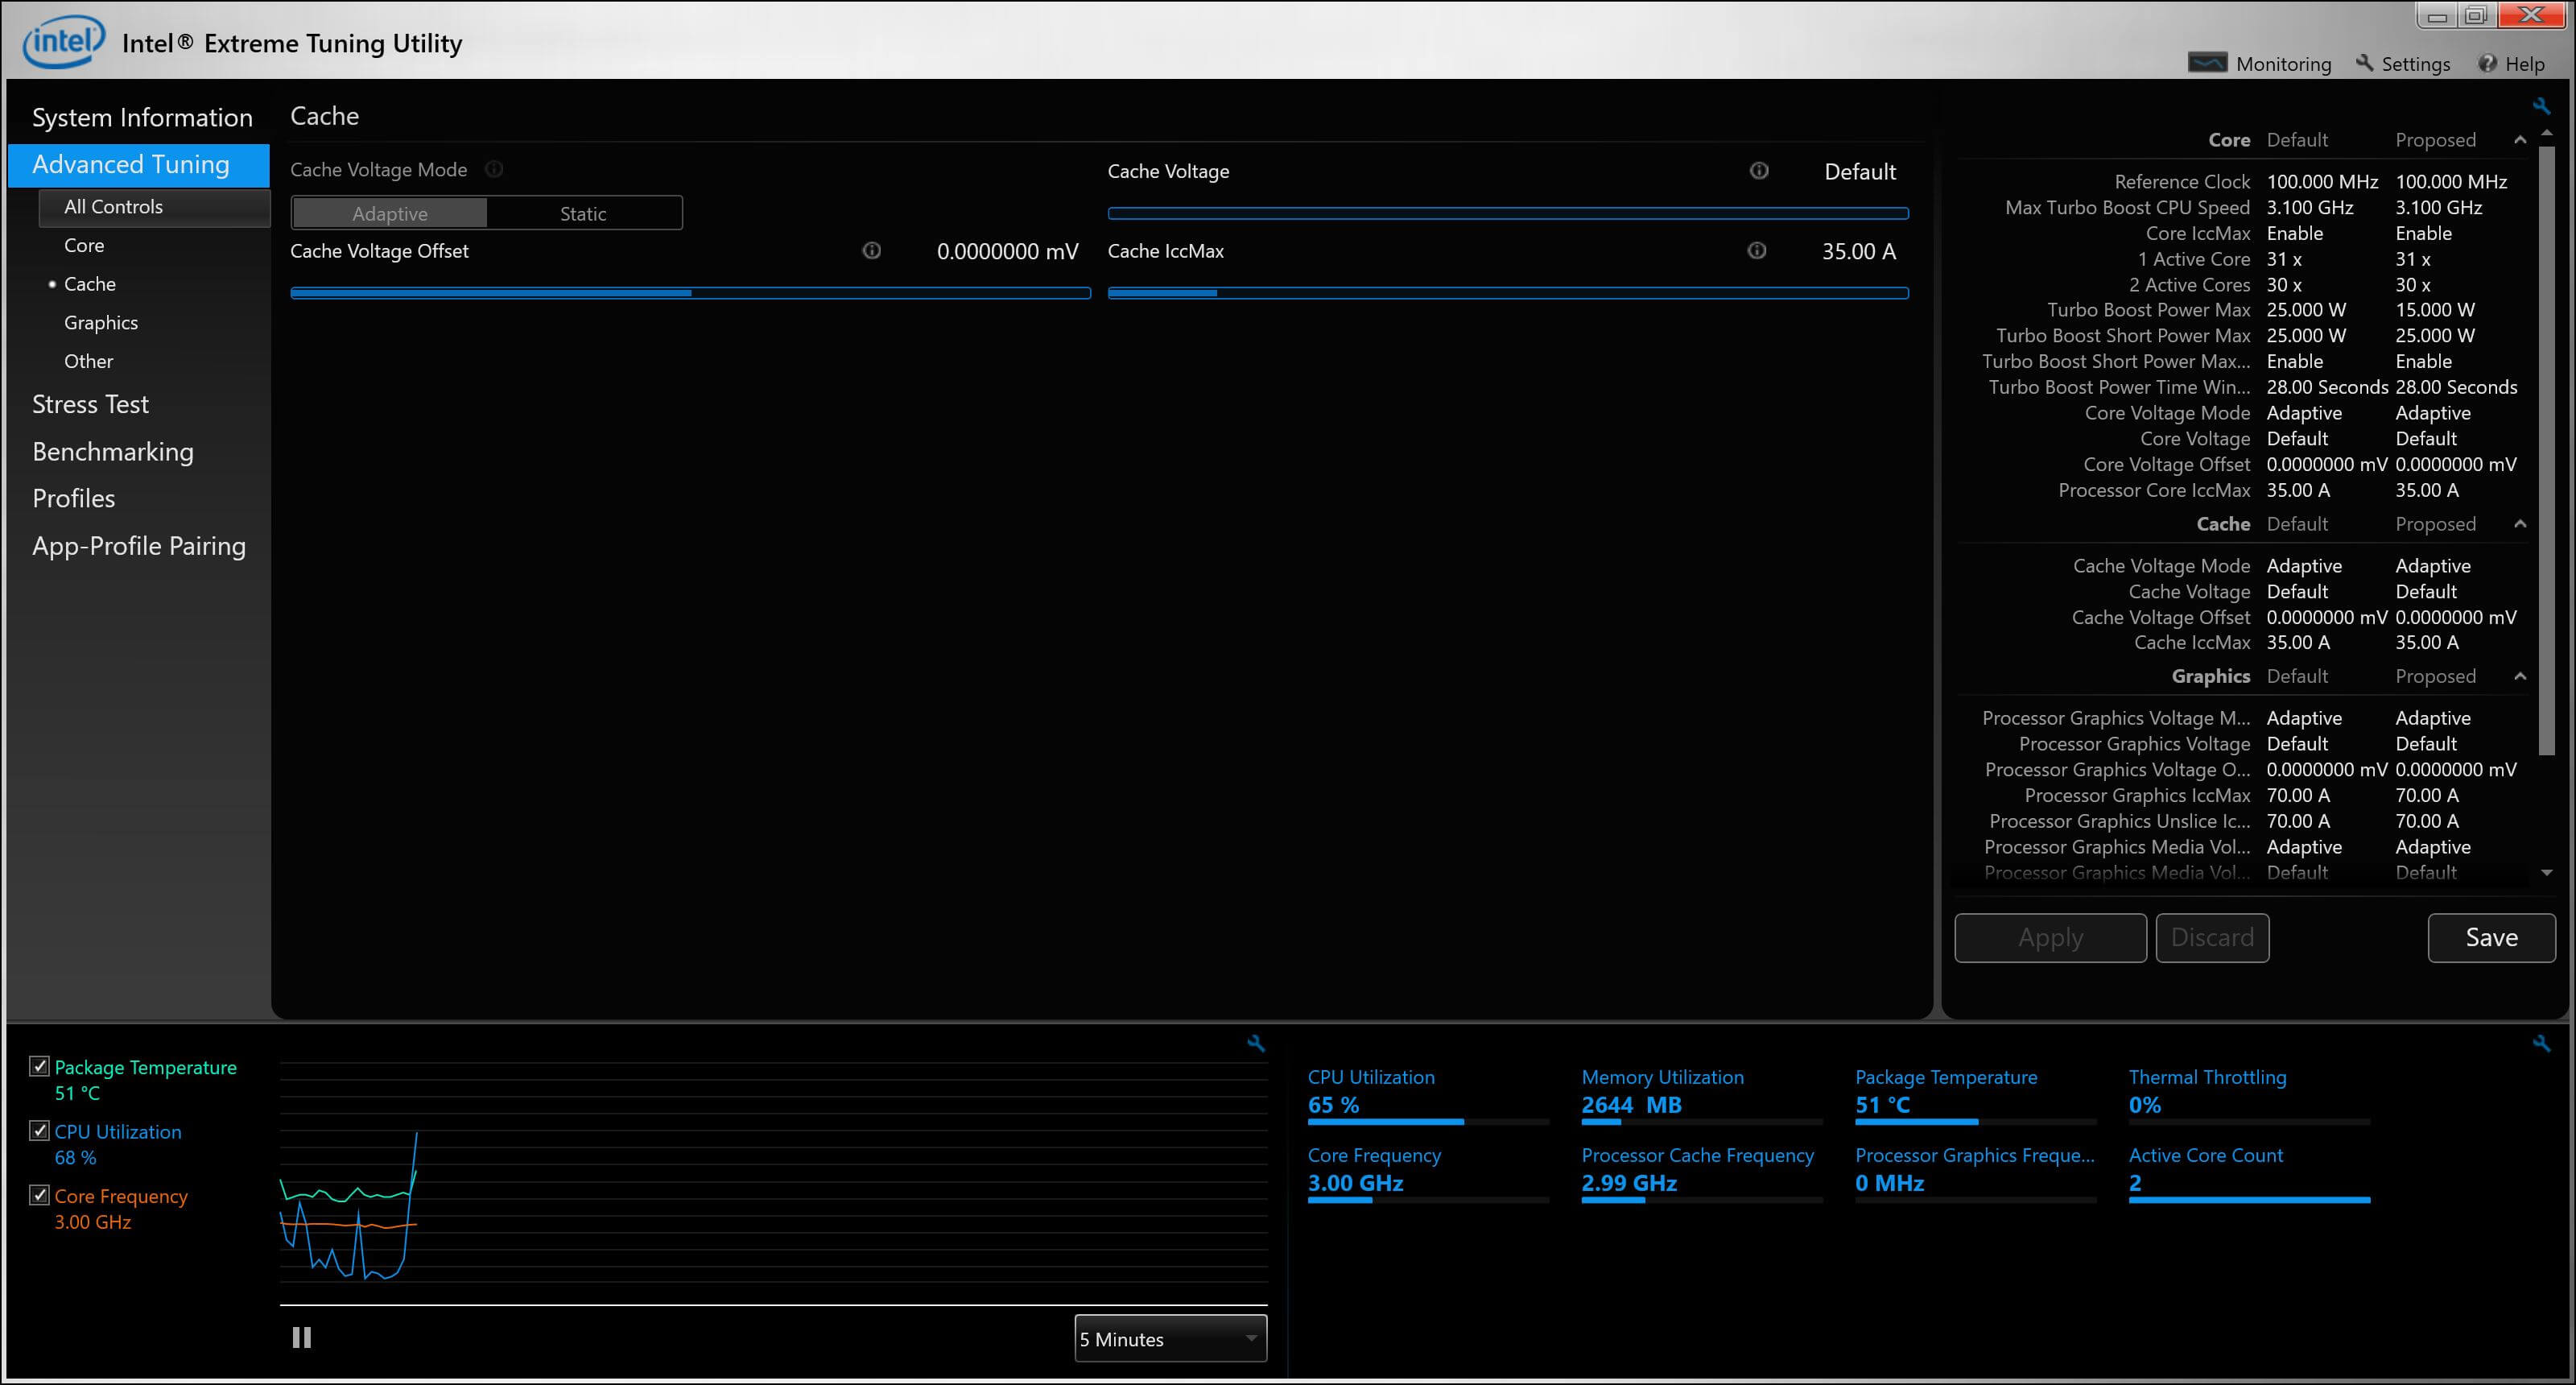
Now when increasing the CPU multipliers, also increase the processor cache ratio in the ‘Cache’ section. In the screenshot above, the CPU multipliers cannot be modified. But you may be able to do this on a different model.
-
Now click ‘Apply’.
-
On the right, click ‘Save’.
-
Enter a name for your profile. In my example ‘OC’.
-
Now more to the next part of this guide to use this profile.
As you can see in the screenshot above. There is more control over the maximum amount of current flowing through each component. This means we can limit overal power consumption. Also when undervolting, you will reduce the amount of maximum power used in watts. If your processor is already using the full capacity of the 15W or 45W envelope depending on which model you have, you can free up extra headroom to improve performance even further through undervolting. This being said, you don’t necessarily need to overclock your processor to get better performance. Undervolting will work too, specially on Skylake-Y and Skylake-U procesors like the Intel Core i7-6500U in my Lenovo Yoga 900.
When undervolting, make sure to modify the ‘Core Voltage Offset‘ rather then the ’Core Voltage’, changing the voltage offset will maintain the dynamic voltage scaling. If you only change the voltage, you will enable a static voltage, which is not good for the processor lifespan and battery life.
How to make the settings stick upon reboot
There are generally two ways to do this. The recommended way is to use ‘App-profile pairing’ using Intel XTU.
Using Intel XTU
I noticed it is not possible to keep a permanent profile active. Intel XTU only applies a profile, if the application is running in the foreground. Which means the profile is only applied if the application is the active window on your screen.
In the example below, if I run ArmA 3 and I am playing, the profile will be applied. But as soon as I minimize or alt-tab out of the game, the profile will be released and is reset to default settings.
Now let’s apply an overclocking profile on ArmA 3.
-
Using the created profiles from previous part of this guide, we are now going to apply them. Choose ‘App-profile pairing’.
-
Click ‘Turn on’ so it looks like the screenshot below. Doing this will enable app profile pairing. 
-
Now in the first column we choose an application again. Use the ‘Browse…‘ button to browse for ArmA 3 or your preferred application or game.
-
Then click ‘Save’ again in the file selection dialog when you are done.
-
At ‘Choose Profile in AC Power mode’, select your overclocking profile, in my case ‘OC’.
-
At ‘Choose Profile in Battery mode’ select ‘No profile pairing’.
-
Click ‘Pair’. 
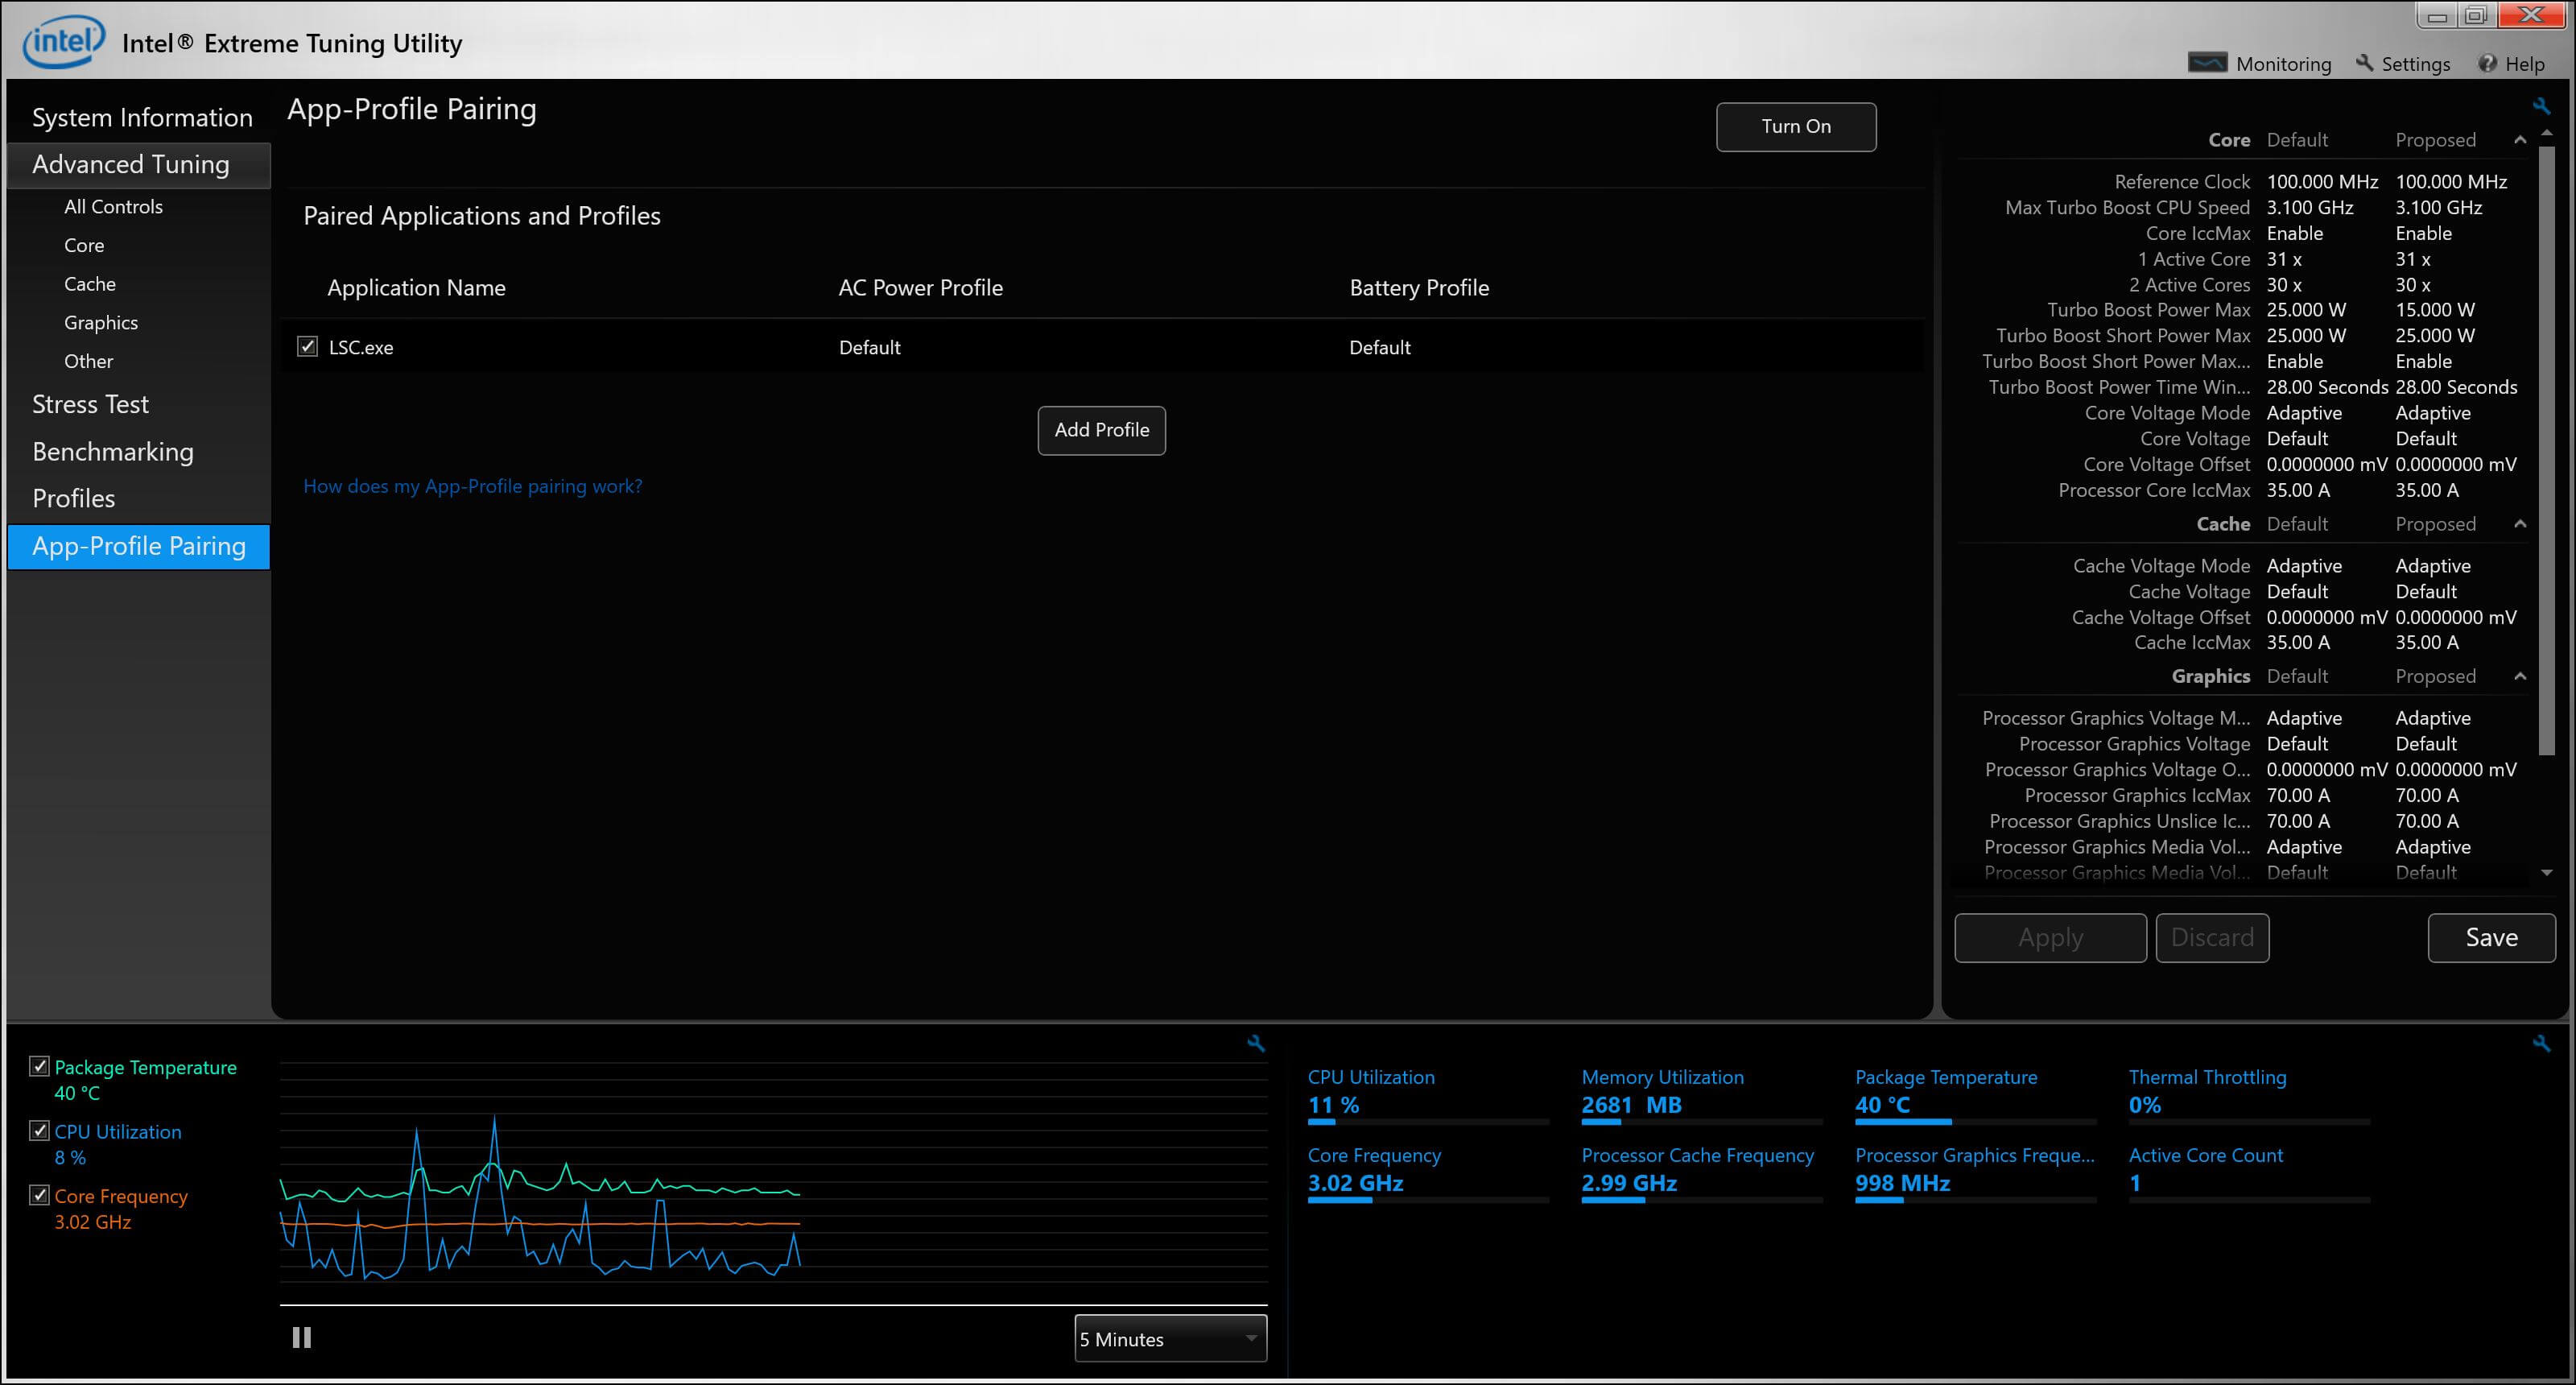
Now it should look like this:

Not that your settings can still be lost upon reboot, which clears the hibernation file. Windows fast startup is actually just Windows hibernating (saving everything into a hibernation file) and then just restoring it upon starting your computer. Restarting it resets everything.
But this part allows you to apply a profile which sticks upon reboot, although it is not guaranteed to always work.
With Windows 10 you can use fast start up which you can find in two ways:
-
Right-click the start orb in the bottom left corner.
-
Choose ‘Power Options’.
-
Now click ‘Choose what the power buttons do’ at the new window.
or
-
Right-click the battery icon in the system tray.
-
Choose ‘Power Options’.
-
Now click ‘Choose what the power buttons do’ at the new window.

Click ‘Save changes’ when you are done.
Supported processors
Overclocking
Processors that do not support Intel Turbo Boost are not supported.
-
Skylake:
-
Intel Core i5
-
Intel Core i7
-
Undervolting
- Skylake