The Haswell generation of ThinkPads had the worst TrackPads you can imagine. Lenovo decided to remove the dedicated TrackPad buttons, also known as dedicated TrackPoint buttons. In this article, we will explain how you can replace the TrackPad with a TrackPad that has 3 dedicated buttons.
Getting the hardware maintenance manual
Before you start, it is recommended to check out the hardware maintenance manual first, so you can purchase the tools required to perform the job.
For the models below, the hardware maintenance manual (abbreviated HMM) is linked, so you have the official documentation available to replace the TrackPad.
Models:
- ThinkPad T440: HMM
- ThinkPad T440s: HMM
- ThinkPad T440p: HMM
- ThinkPad T540p: HMM
- ThinkPad W540: HMM
- ThinkPad X1 Carbon Gen 2: HMM
Replacing the TrackPad
Open the hardware maintenance manual (HMM) you downloaded earlier. Look for the section that tells you how to remove the ‘keyboard bezel assembly’, ‘palm rest’ or ‘keyboard assembly’.
The manual will mention the dependencies and screws that you will need to remove in order to remove the palm rest or keyboard assembly.
We did not mention the ThinkPad X240 as it is slightly different. It uses glue to keep the TrackPad in place. It will need to be carefully pried off its location.
Installing the drivers
Windows 10
Getting the new touchpad to work on Windows 10 can be a little bit problematic. Be aware that disabling ‘digital driver signature enforcement’ does come with some security risks. Below, we have mentioned that Ubuntu will work out of the box.
- Uninstall the existing Synaptics drivers.
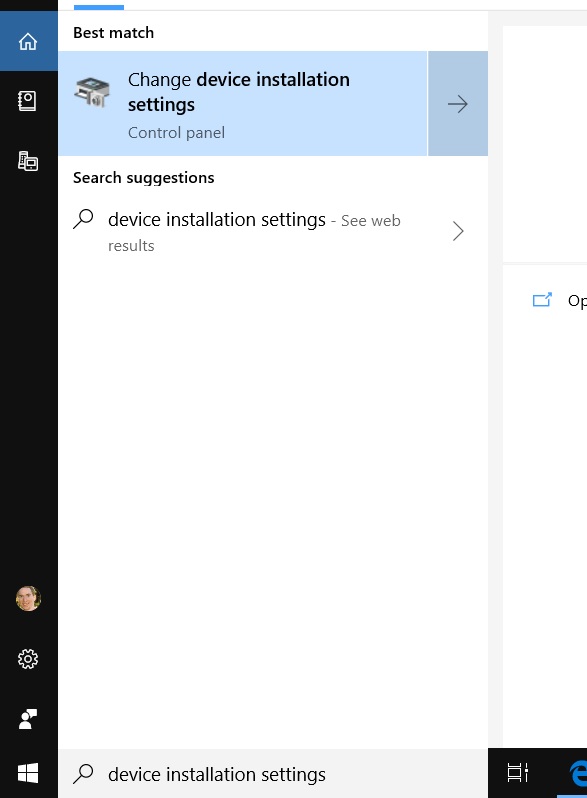
- In the Cortana search bar, type ‘Device Installation Settings’ and click at the search result that seems right to you.
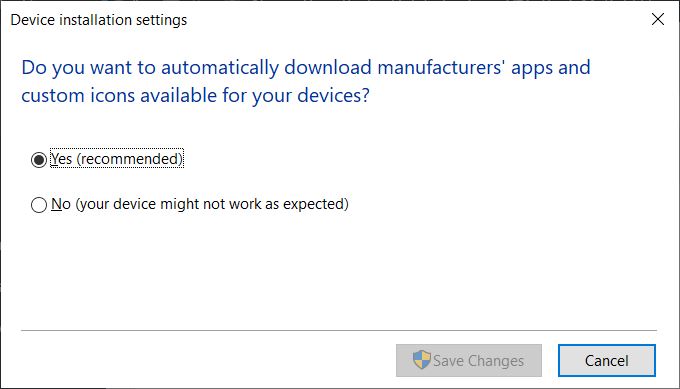
- In the dialog that appears select: ‘No (your device may not work as expected)’ and click ‘Save’.
- Download the latest T450 or W550 Synaptics driver from Lenovo here.
- Execute the downloaded file to unpack the installation files. Make sure you click ‘Finish’ to prevent auto installation after it has finished unpacking.
- Edit the x64 synpd.inf file in notepad.
- Remove all lines that contain ‘LEN0036’. (Shortcut Ctrl+F)
- Replace all instances of ‘LEN200E’ with “LEN0036’. (Shortcut Ctrl+H)
- Save the modified file.
- Restart Windows 10 into troubleshooting mode and select option 7 to disable driver digital signature enforcement. You can also execute ‘bcdedit.exe /set nointegritychecks on’ to disable it permanently.
- Reboot and run the Synaptics installer
- Ignore any warnings about digital signature verification and click ‘Install anyway’
Ubuntu
On Ubuntu, it will work out of the box. No additional work is required.